Enclosure
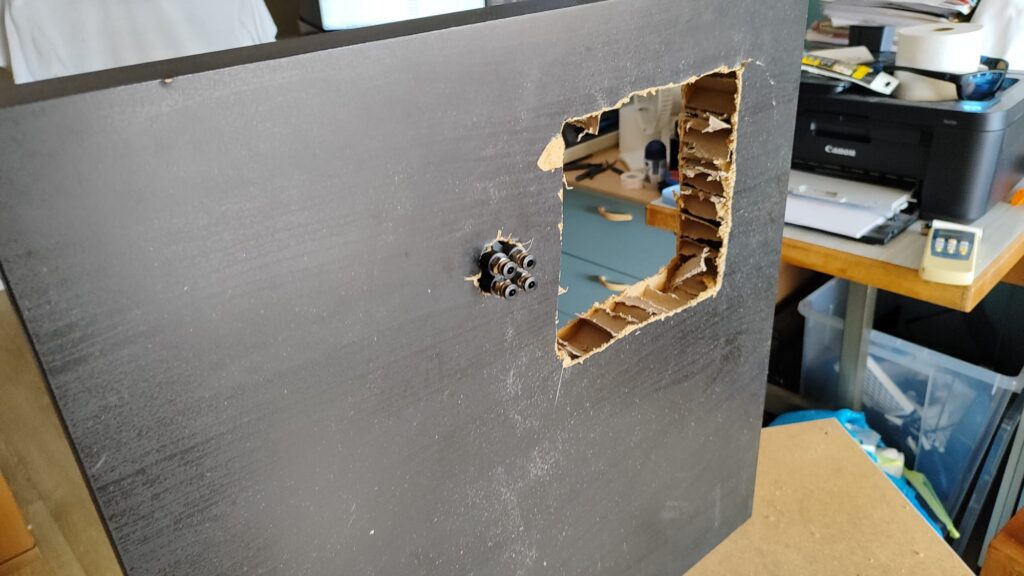
The two main differences with a normal ikea lack enclosure its its holes on the top part and its increased length with an entra ikea lack.
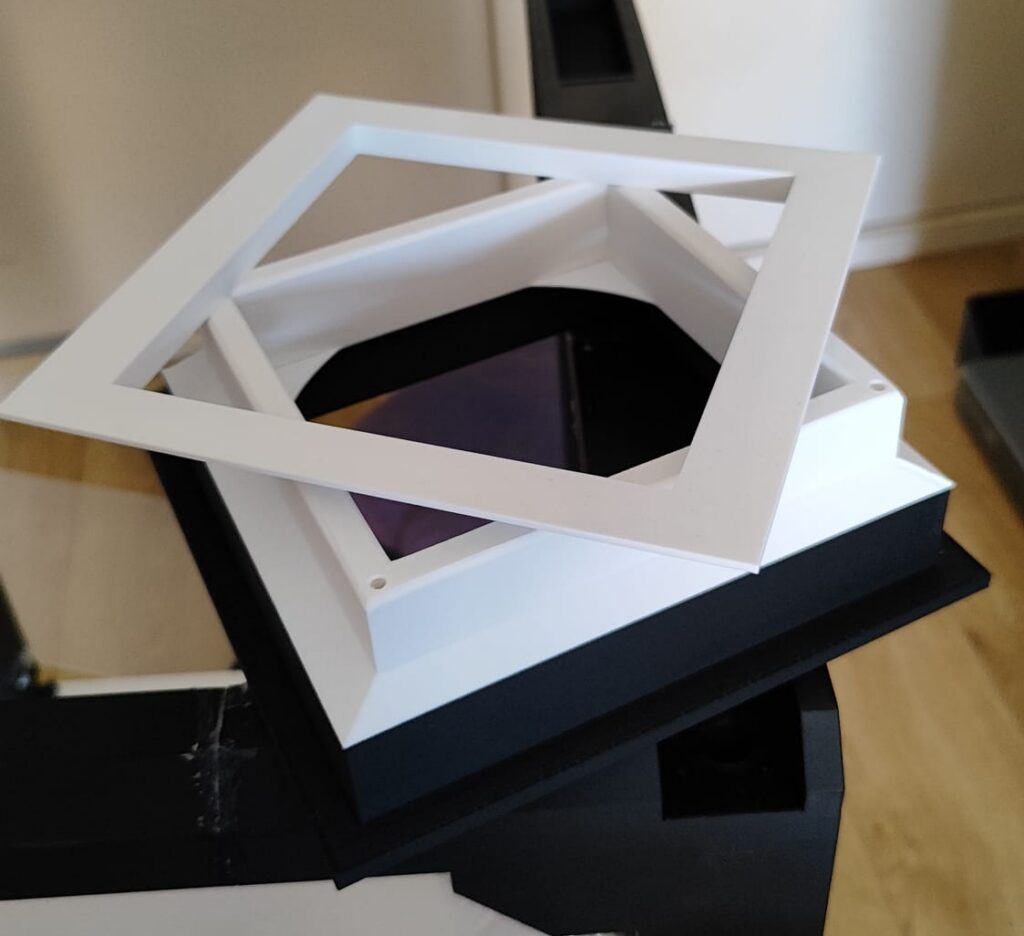
The holes on the top allowed me to introduce a custom tube to grap the fan from one site and insert a carbon + HEPA filter all while it being insite the table.
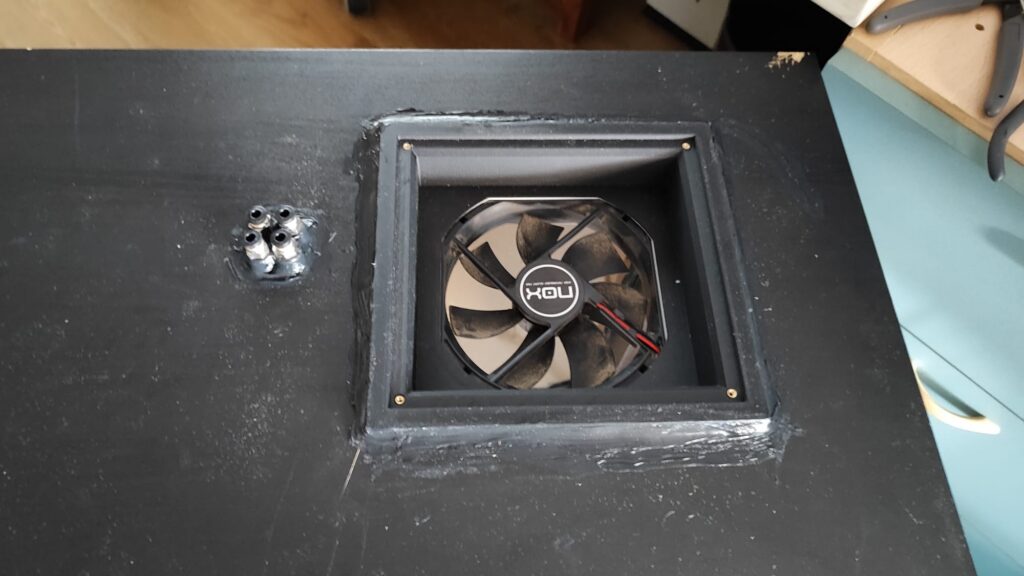
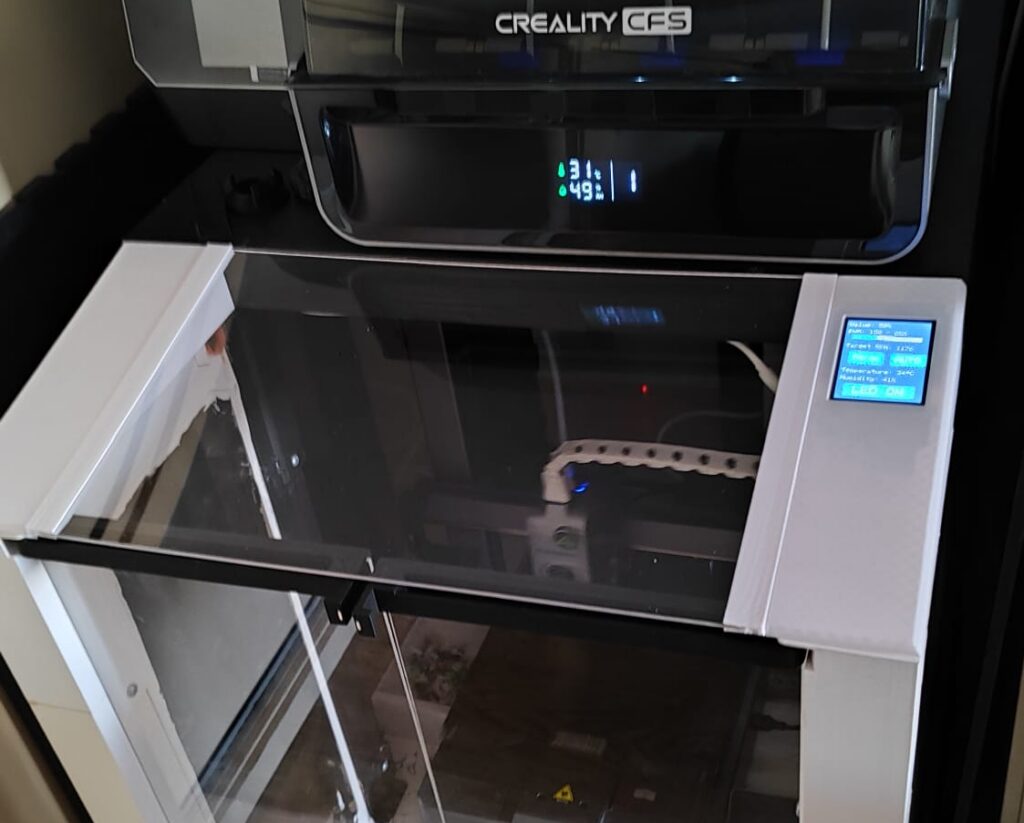
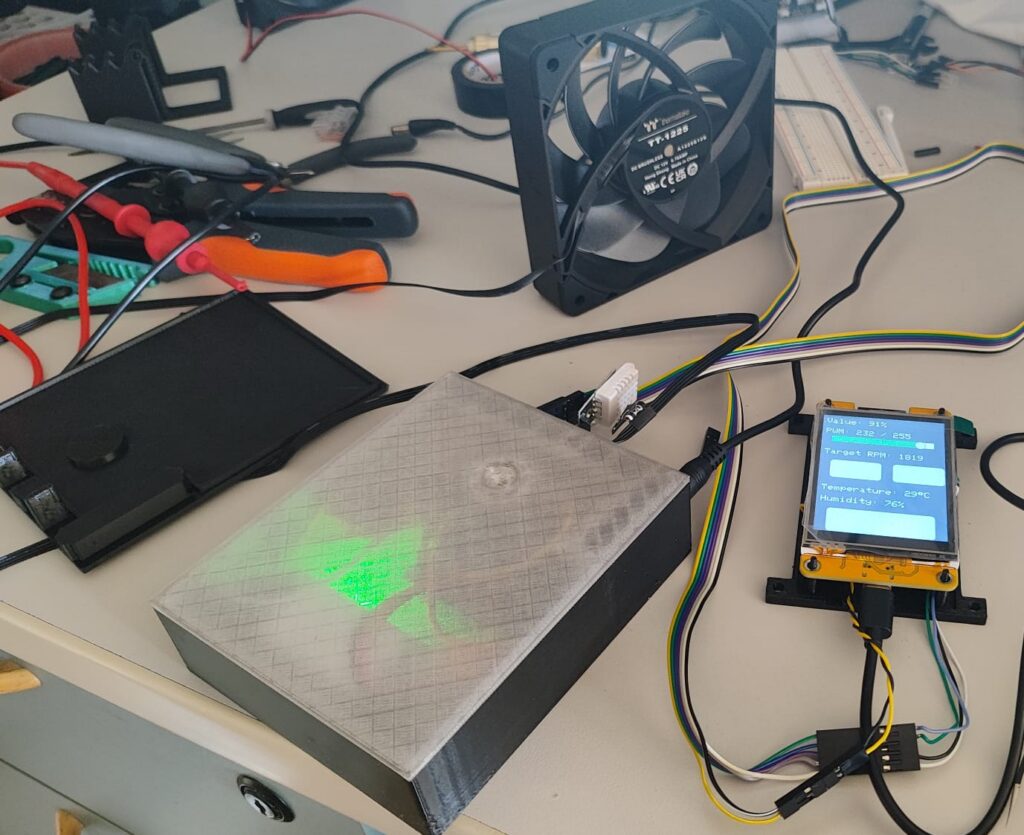
Despite its limitations, the enclosure marked a big improvement. It allowed me to print a wider range of materials more reliably, thanks to better temperature stability. Additionally, I integrated a ventilation system with filters and added internal lighting, making the setup both more functional and easier to work with.
esp32 Controller setup
To automate the enclosure and improve usability, I needed a way to control the ventilation system so that it would only turn on when the printer was active. I also wanted more flexibility, such as a PWM-controlled fan, allowing me to dynamically adjust the speed depending on the printing conditions or specific requirements.
To achieve this, I chose to use an ESP32 with an integrated display. This setup provided a compact and efficient solution, combining both control logic and a user interface. The resistive touchscreen enabled direct interaction, making it easy to manage fan speeds, lighting, and other features without relying on external devices.
In addition, the ESP32 hosts a lightweight web server with defined routes. When these endpoints are accessed, the microcontroller executes the corresponding actions—such as turning the fan or lights on and off. This architecture allows seamless communication between the printer (or any other system) and the ESP32, enabling automated and remote control of the enclosure environment.
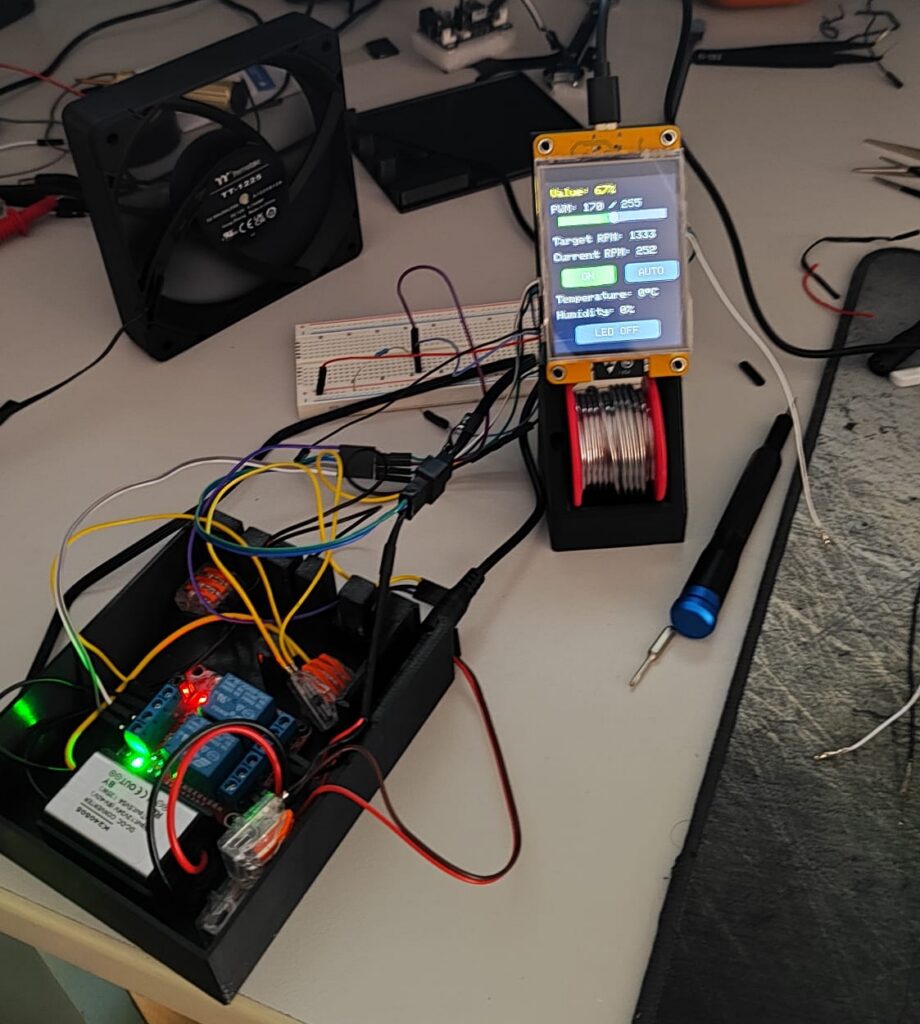
The current system is powered by a 12V supply, which feeds both the ventilation fan and the installed LED strip. To support the control electronics, I integrated a step-down converter to transform the 12V input into 5V, providing stable power to the ESP32 and the DHT22 temperature and humidity sensor.
Taking advantage of the available GPIO pins on the ESP32, I wired the system to control two independent relays—one for the fan and another for the lighting—allowing each to operate separately. In addition, two dedicated pins are used to manage the fan speed via PWM, while another pin is connected to the sensor for environmental readings.
To enhance functionality, I implemented an “auto” mode that dynamically adjusts the fan speed based on temperature. As the temperature increases, the system proportionally raises the fan speed, helping maintain optimal conditions inside the enclosure without manual intervention.
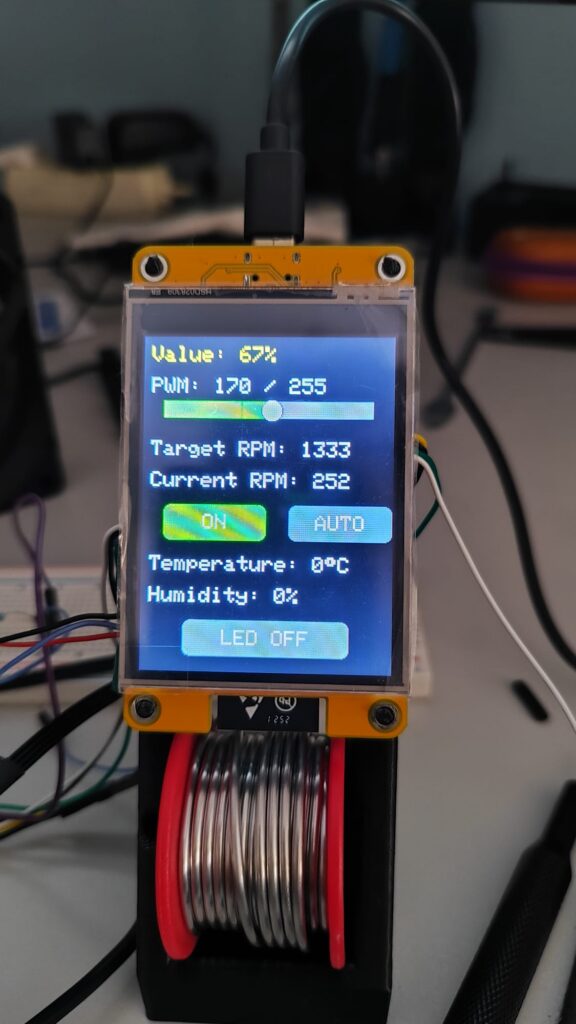
On the user interface side, I developed a clean and simple control panel on the integrated touchscreen, featuring:
- A slider to adjust the current PWM value
- A button to start/stop the fan
- A button to enable/disable auto mode
- Real-time temperature and humidity indicators
- A button to toggle the LED lighting
Once testing and integration were complete, I designed and printed custom brackets to mount the system neatly within the enclosure, ensuring it fits seamlessly with the overall build while maintaining accessibility and a clean layout.